
Better browning
Let mushrooms turn golden
Give their cut faces a chance to meet the pan. Once the surface moisture has gone, a deeper flavour is only a little patience away.
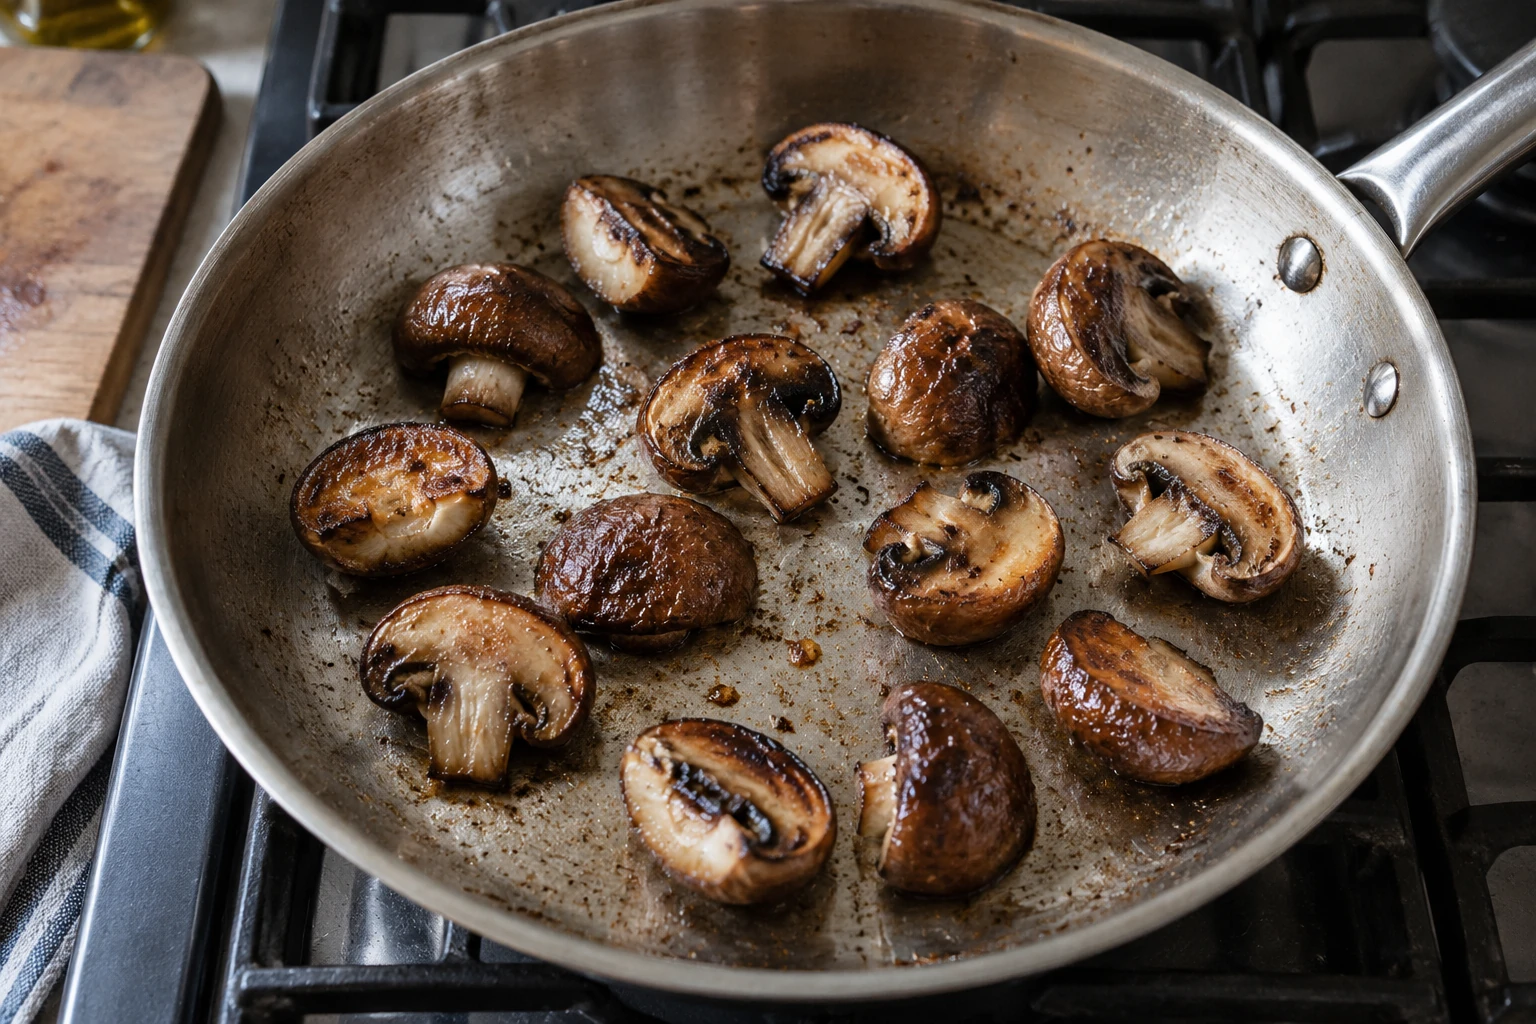
THE PAYOFFBrowned mushrooms with a tender centre
TAKE IT STEP BY STEP
The method.
Clean, then dry
Brush away debris or give very dirty mushrooms a brief rinse. Pat them dry rather than soaking them. Trim tough stem ends and halve or quarter the mushrooms into pieces of roughly similar size.
Choose a wide pan
Heat the pan over medium-high heat and add the oil. It should shimmer, not smoke heavily. You need enough room for one layer; cook in two batches if the mushrooms would pile up.
Put a cut face down
Arrange the pieces with a flat side touching the pan. Leave them for about 2–3 minutes before checking one. If moisture appears, let it cook away. Constant stirring makes it harder for a clear browned surface to develop.
Turn and finish
Turn once the first side is golden, then brown the other faces. Expect roughly 6–10 minutes overall for this small batch, depending on size and pan heat. The mushrooms should be tender, with no watery pool underneath.
Season at the end
Lower the heat and add the optional butter, thyme, salt and pepper. Toss briefly and serve. If using garlic, add it only for the final 30–60 seconds so it does not burn while the mushrooms brown.
WHEN IT GOES SIDEWAYS
A small fix.
They are simmering in water
The pan may be crowded. Let the water evaporate, then continue browning; use smaller batches next time.
The outside burns while the middle stays firm
Lower the heat and cut the next batch more evenly. Large mushrooms need more time than small slices.
They soak up the oil immediately
Wait a little before adding more. Mushrooms change as they cook; a pan that is truly dry can take another teaspoon, but repeated large additions make a greasy finish.
Spoon onto toast, fold into cooked lentils or use the browned pan for a quick sauce.
THE USEFUL TOOLS
Useful tools for this technique.
Use what you already have. If you need something, these are a few options to consider.
As an Amazon Associate I earn from qualifying purchases.
Amazon.com · US store
Tramontina Signature Tri-Ply Clad 12-inch Frying Pan
An uncoated stainless-steel pan lets you build browned bits, then lift them into a pan sauce.
Before you chooseMatch pan size to your burner and the amount you cook; avoid crowding the surface.
View on Amazon.com